AnyDesk for Apple Devices – Share Your iPhone Screen on Your Mac
iPhone, Mac and iPad – Screen Sharing for All Your Apple Devices
Apple is one of the most popular tech manufacturers for information technology in the world, producing smartphones, computers and their respective software. If you own an iPhone, you probably also use a Mac or other Apple devices. In fact, more than one billion people worldwide own an Apple iPhone, making iOS one of the most popular operating systems in the world.
AnyDesk is an ideal way to connect all of your Apple devices, meaning you can access files on your Mac via your iPhone, work on your stationary Mac from your MacBook, and use many functions specifically for remote work or remote support.
But today, we want to get back to the most basic function of a remote desktop solution – screen sharing. Because sometimes, showing your screen is enough. Whether you want to invite people to view your iPad for a presentation or introduce someone to iOS and show them what its UI looks like, screen sharing is a simple way to share information quickly. Previously, we showed you how to screen share with Android. But how can you share your iPhone screen?
AnyDesk offers a simple and completely secure solution to share your iPhone screen on a Mac. But it doesn’t end there: You can even screen share from your iPad to any operating system that isn’t Apple. From iOS to Android, from Apple to Linux, anything is possible. This cross-compatibility ensures a smooth screen share performance at all times, no matter where you are in the world. Here’s how to screen share on iPhone and Mac!
Download AnyDesk
This step is the same for any Apple device: Download AnyDesk either in the Apple App Store or on our website. AnyDesk needs to be downloaded on both devices: The one that wants to share their screen and the one viewing the screen.
You can get started right away. However, our affordable AnyDesk licenses offer a lot more features and functions, so if you would like to expand and use more than just the screen sharing feature, consider buying one of our licenses.
How to Screen Share on Mac
Before you start your first remote desktop session on your Mac, you should adjust your security settings, which you can do in the menu. Screen sharing only means projecting an image of your screen to whoever wants to view it. They shouldn’t be able to also click on files and access data. If you want to invite someone to view your screen, we advise you to disable all permissions to ensure your Mac will not be controlled remotely.
Simply go to the security settings and untick all permissions or untick them on the accept window that pops up whenever you receive a session request. Adjusting permissions is a great way to limit remote access to your device. Still concerned about security? Don’t worry, AnyDesk employs numerous security features.
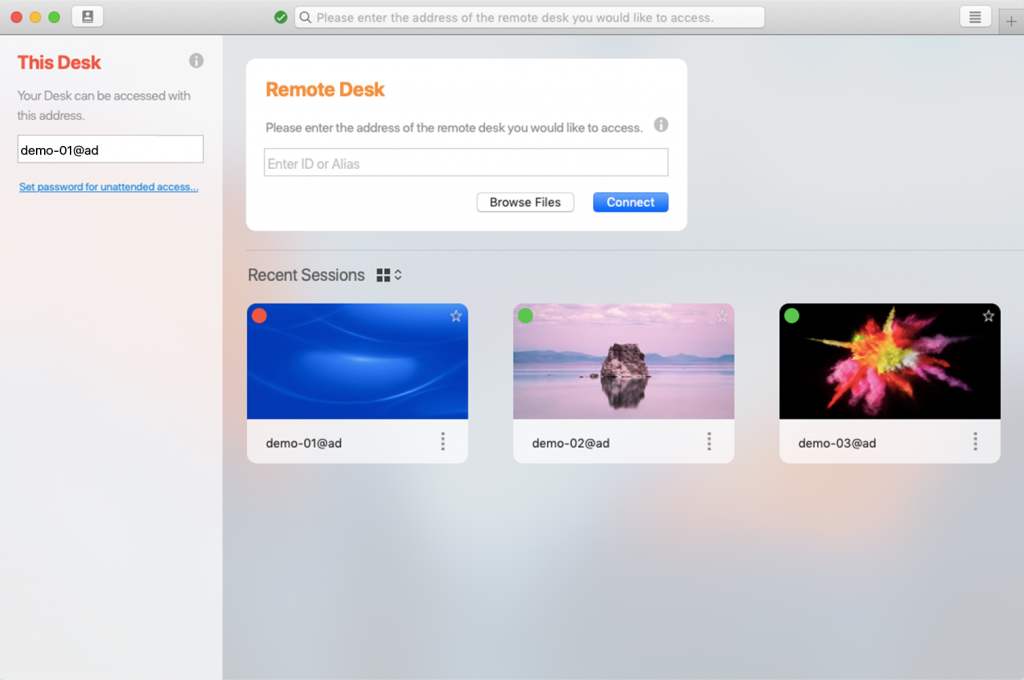
Open AnyDesk and look at the left side of your home window, where you will find a number. This is the ID for your desktop. Your desk can be accessed with this address, so send it to whoever you want to share your Mac screen with and tell them to type it into “Remote Desk”. Once you accept the request, everything on your Mac will be visible to your guest. When you’re done, you can ask them to disconnect or disconnect them yourself via the accept window.
How to Screen Share on iPhone and iPad
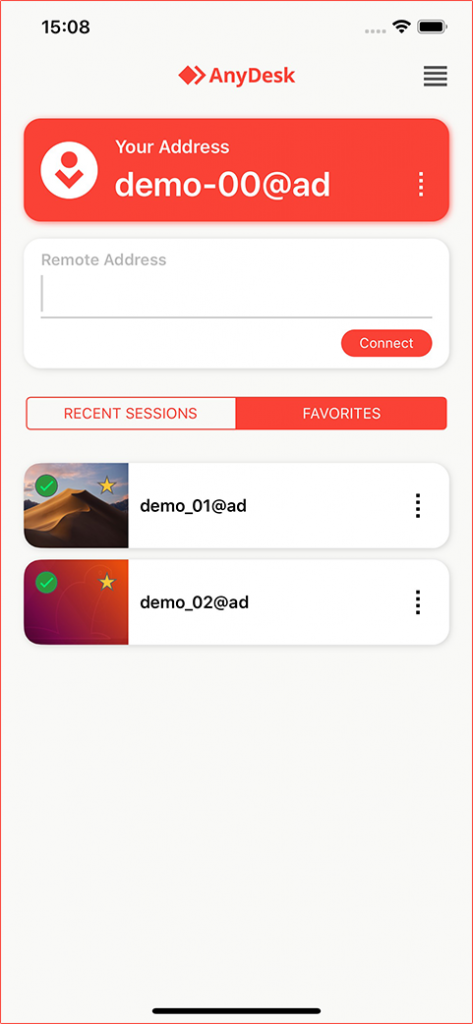
It’s even easier to screen share on iPhone and iPad. Once you’ve downloaded the AnyDesk App, you can start your session right away. No permissions need to be adjusted. Your guest will not be able to control the remote screen and at the end of your presentation, you can simply disconnect your guest. Screen sharing has never been easier. With AnyDesk, your Apple devices are always interconnected.
Recent Posts
-
The Sophisticated Phishing Hacks of Cybercriminals
 October 20, 2022
-
Opportunities of Digitalization Thanks to Remote Access
September 27, 2022
-
Latin America’s First Digital Nomad Village to Be Launched in Brazil
September 20, 2022
Sign up for news, tips and more